Kat and I added the second pitch to Ribbit and Croak yesterday and topped out. We saw Mark Seelos (MudMittens) in the parking lot and he got to listen to Kat and me playing the Bickersons on the climb (he was climbing at the Hand)
It was a tough day with the sun coming around sooner than the two previous outings with clink (damn time change).
By the time I got to the first pitch anchor, the sun was roasting me. I decided it would be best to get the first bolt in on p2 so when Kat came up I could get going and she wouldn't have to hang at the belay as long. It was a good thing I did! The only decent rock I could find had me overextended to the point I could not grip the drill holder but only turn it with my fingertips. On tiptoes, spread out awkwardly and twisted, I struggled for what seemed like forever to get the first bolt in. It was after 1:00 when I finished the bolt. Long story short, it kicked my arse. Kat followed p1 and we got reorganized at the belay (it is easier utilized as a hanging belay if you do pitch 2). Before Kat came up, I removed the temporary rappel hardware clink and I left when we finished p1 and I put chains and proper screwlinks on the anchor. Now if someone just wants to lead p1 and rappel...they can.

If someone wants to go climb it, be my guest.

clink congratulated me on leading the first pitch again without injury.

With the possible exception of the first bolt, it is very much in keeping with other Frog routes.
The starting boulder (see route description below).

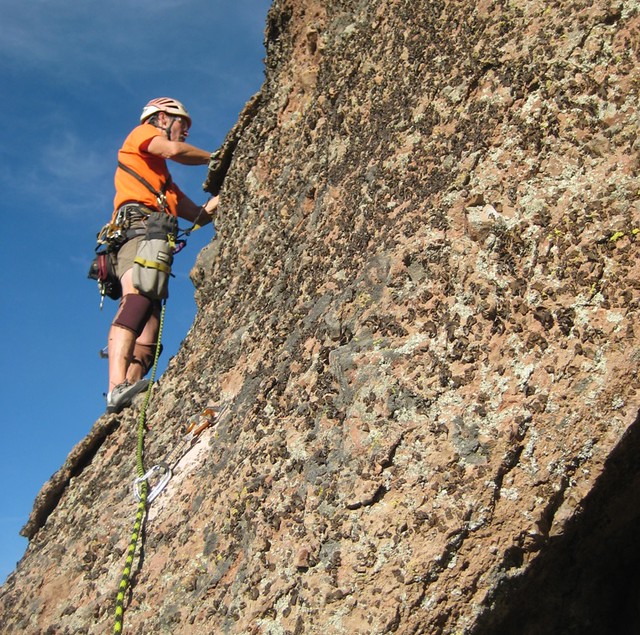
Stance for bolt 2, pitch 2. How bout those scary looking flakes?

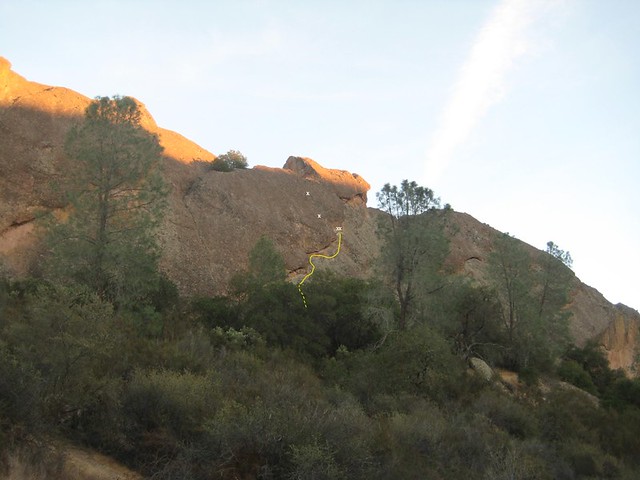
Approximate photo topo for both pitches showing the two bolt midway anchor and the 2nd and 3rd lead bolts on p2
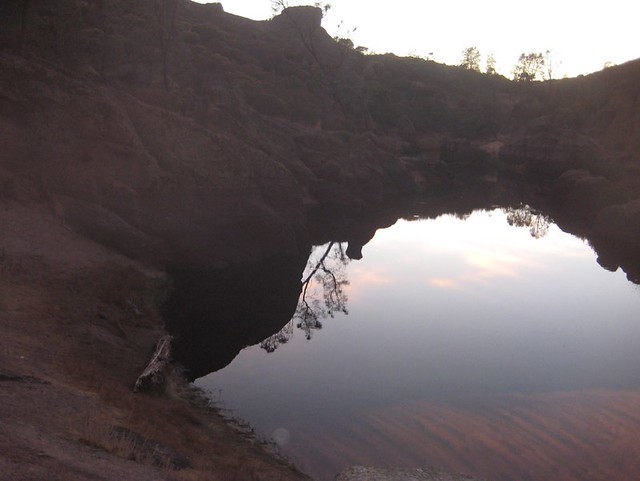
And what TR would be complete without this? Pretty nifty reflection eh?
Ribbit and Croak 5.6R
Starts about 50 feet left of Getch Getchy Bird on the west face of The Frog. Step off a big boulder and climb the face up and a little left to bolt 1. Continue up and a little left to bolt 2, then start traversing up and right to bolts 3 and 4. Climb up from bolt 4 toward the large overhang above. Duck under/into the right edge of the overhang and then make committing, runout moves out and onto the slab on the right – make a few more moves to reach bolt 5. Traverse right to bolts 6 and 7. There is a big, hollow, unstable? scab past bolt 7 with two medium-sized lodestones next to each other. These provide footholds and allow careful passage across the hollow scab and onto a dirty slab. Move up the slab to a big lodestone and climb onto the lodestone to reach the two-bolt anchor with chains – 110 feet from the start. Rappel 70 feet to the ground or continue up pitch 2.
FA Date 10-7-18, FA Party: John Cook, Jon Cochran
Pitch 2 – clip the first bolt (out left of the anchor) and step over an easy overhang, onto an exposed stance. Make committing moves up and slightly left to bolt 2. Climb to a third bolt about 25 feet higher. From the 3rd bolt, continue up a few moves and escape out right onto class four terrain - then meander to the summit (topping out below the left side/north end of the summit block, 65 feet from the start). Scramble down the opposite/east side 20 feet (class two) and belay from flat ground (no summit anchor). Walk off South Side Shuffle and around the south end of the formation.
FA Date 11-4-18, FA Party: John Cook, Kathy Cook


